How to Resize Your Artwork for Large Format Banner Printing
Share
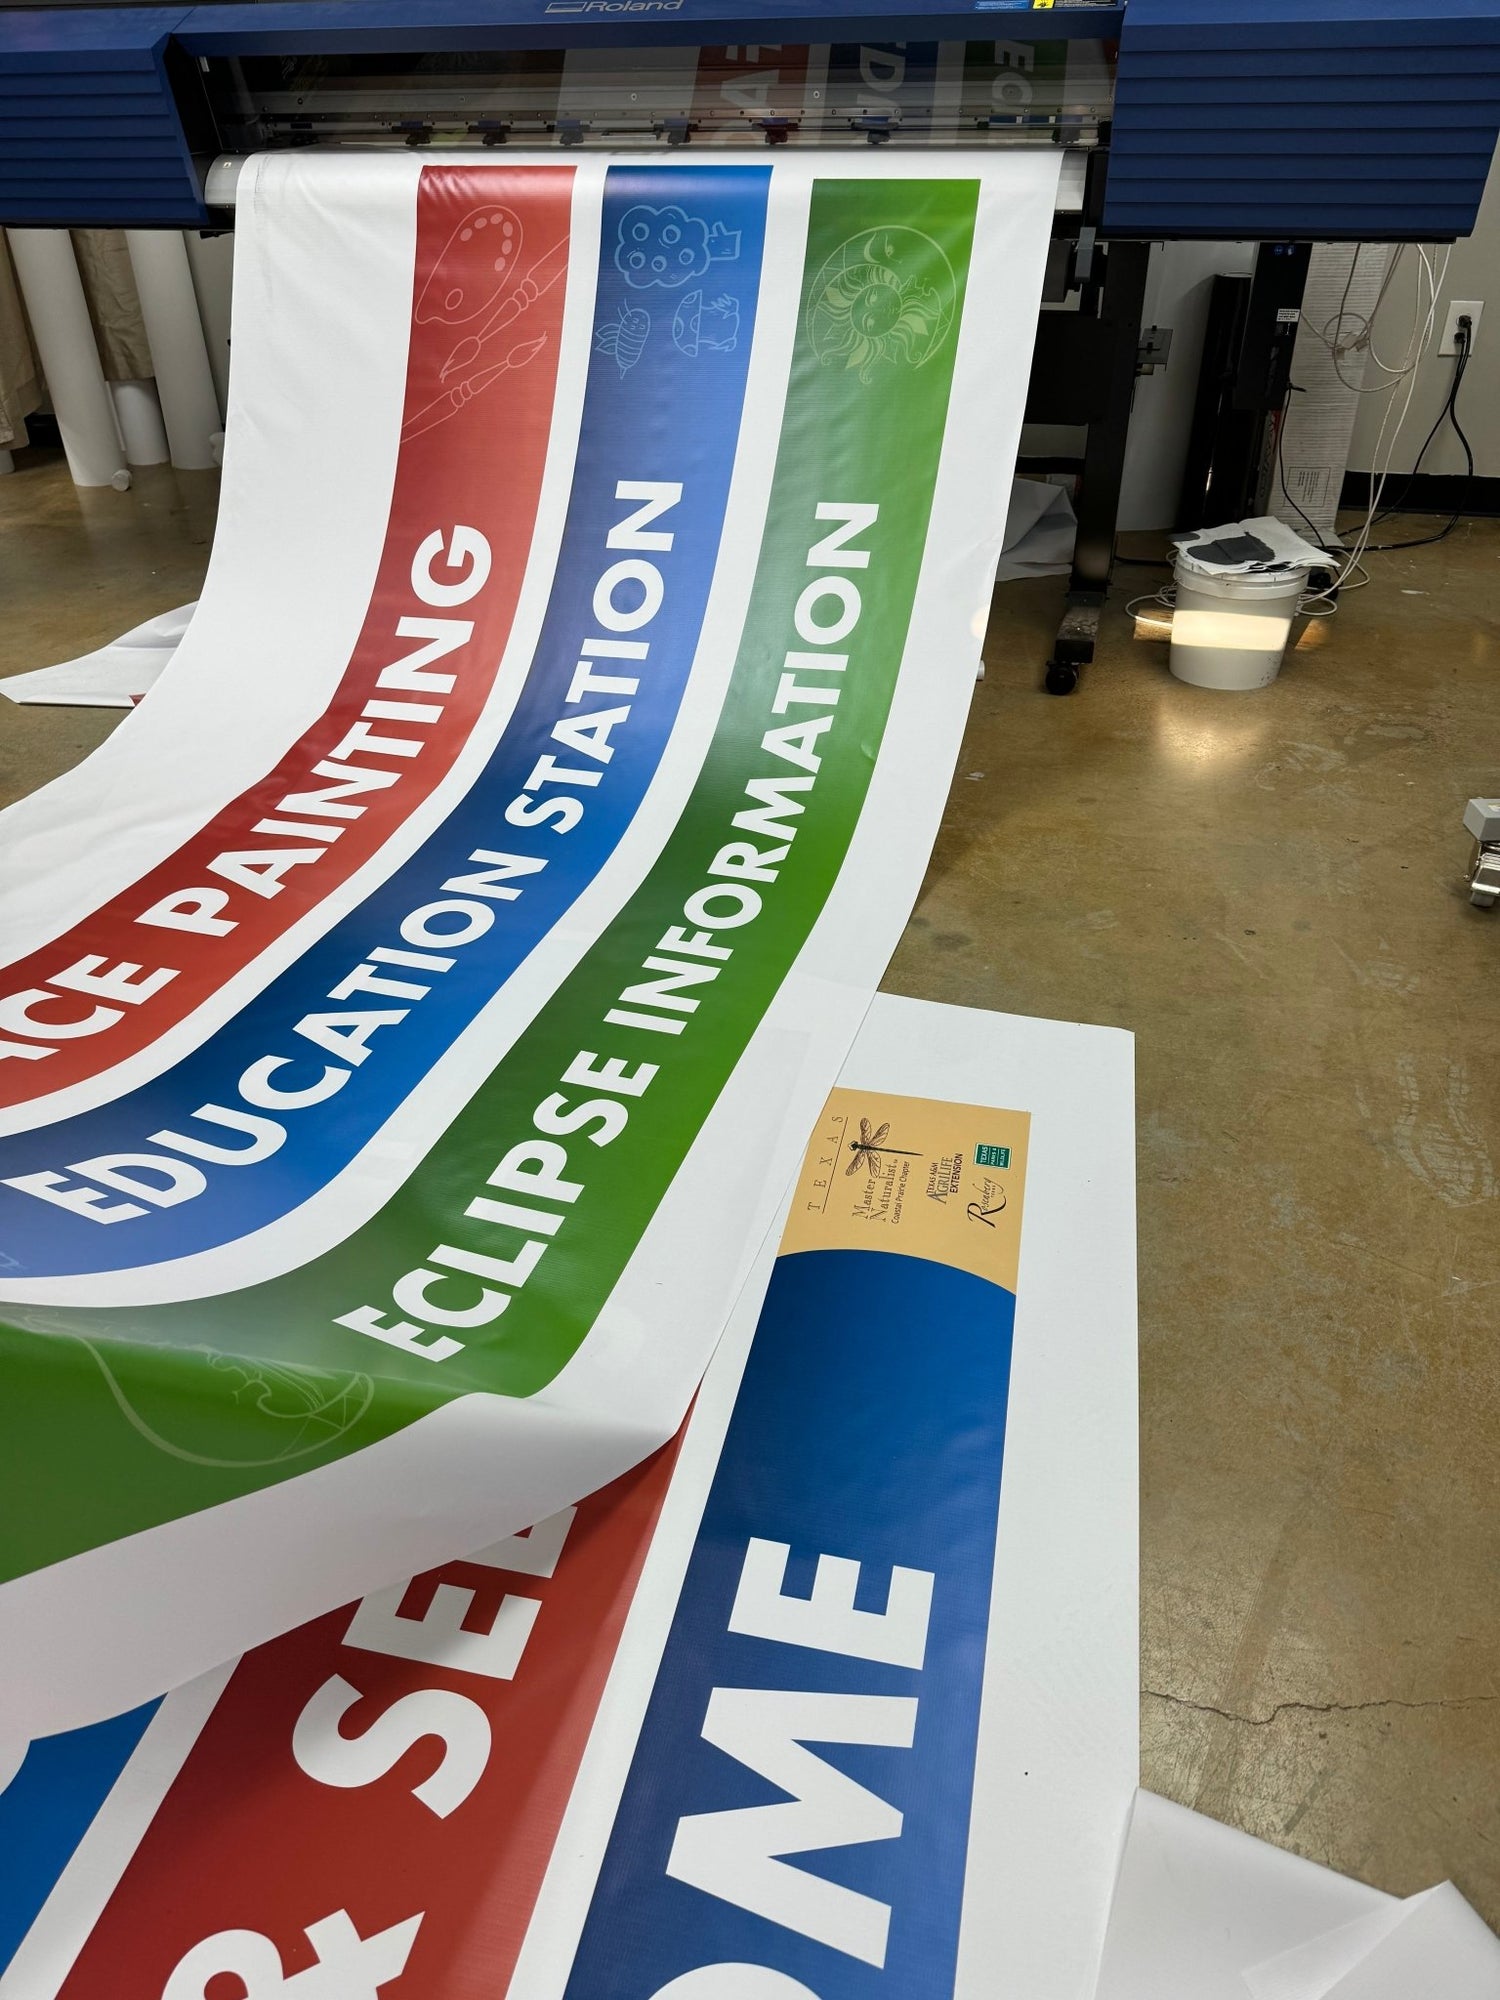
Avoid pixelation—resize artwork properly for large banners using vector formats and DPI prep.
Start with Vector Files, Not JPEGs
Large banners demand clarity. To ensure crisp print:
-
Use vector formats (AI, EPS, PDF) whenever possible
-
If using raster images, save at 150–300 DPI at full banner size
-
Prepare files in CMYK color mode to match banner inks
This avoids blurriness and color shifts during production.
Check Colors & Bleed Areas
Ensure print accuracy by:
-
Converting RGB to CMYK and adjusting any color shifts
-
Adding a 0.125″ bleed for edge-to-edge printing
-
Avoiding important content in the 1–2″ safe zone near banner edges
These practices prevent unwanted cropping and maintain print consistency.
Use Mockups to Preview Scale
Before printing large banners:
-
Apply your artwork to a digital mockup using real-world dimensions
-
Check legibility of text from your target viewing distance
-
Adjust layout so visuals aren’t cramped or overly spaced
A proper mockup avoids surprises once banners are produced.
📧 Email your artwork and banner size for review: sales@dynamicbannersandsigns.com
📞 Call for artwork resizing assistance: 832-945-5502
🌐 Explore banner design tips: www.dynamicbannersandsigns.com